Vision-Transformer Coronary Artery
Implmentation of Vision-Transformer following Series of Article About Vision-Langauge model , in project i implmented from Scratch
Vision Transformer
This repo provide Full Implmentation of VisionTransformer following Series of Article About Vision-Langauge model , in project i implmented from Scratch using Pytorch we need to kepp mind that there’s no big different only few modifications which include

introduction
Major Different Bwtween Transformer in Language and Vision
Vision Transformer included few modification in Architicture main are :
-
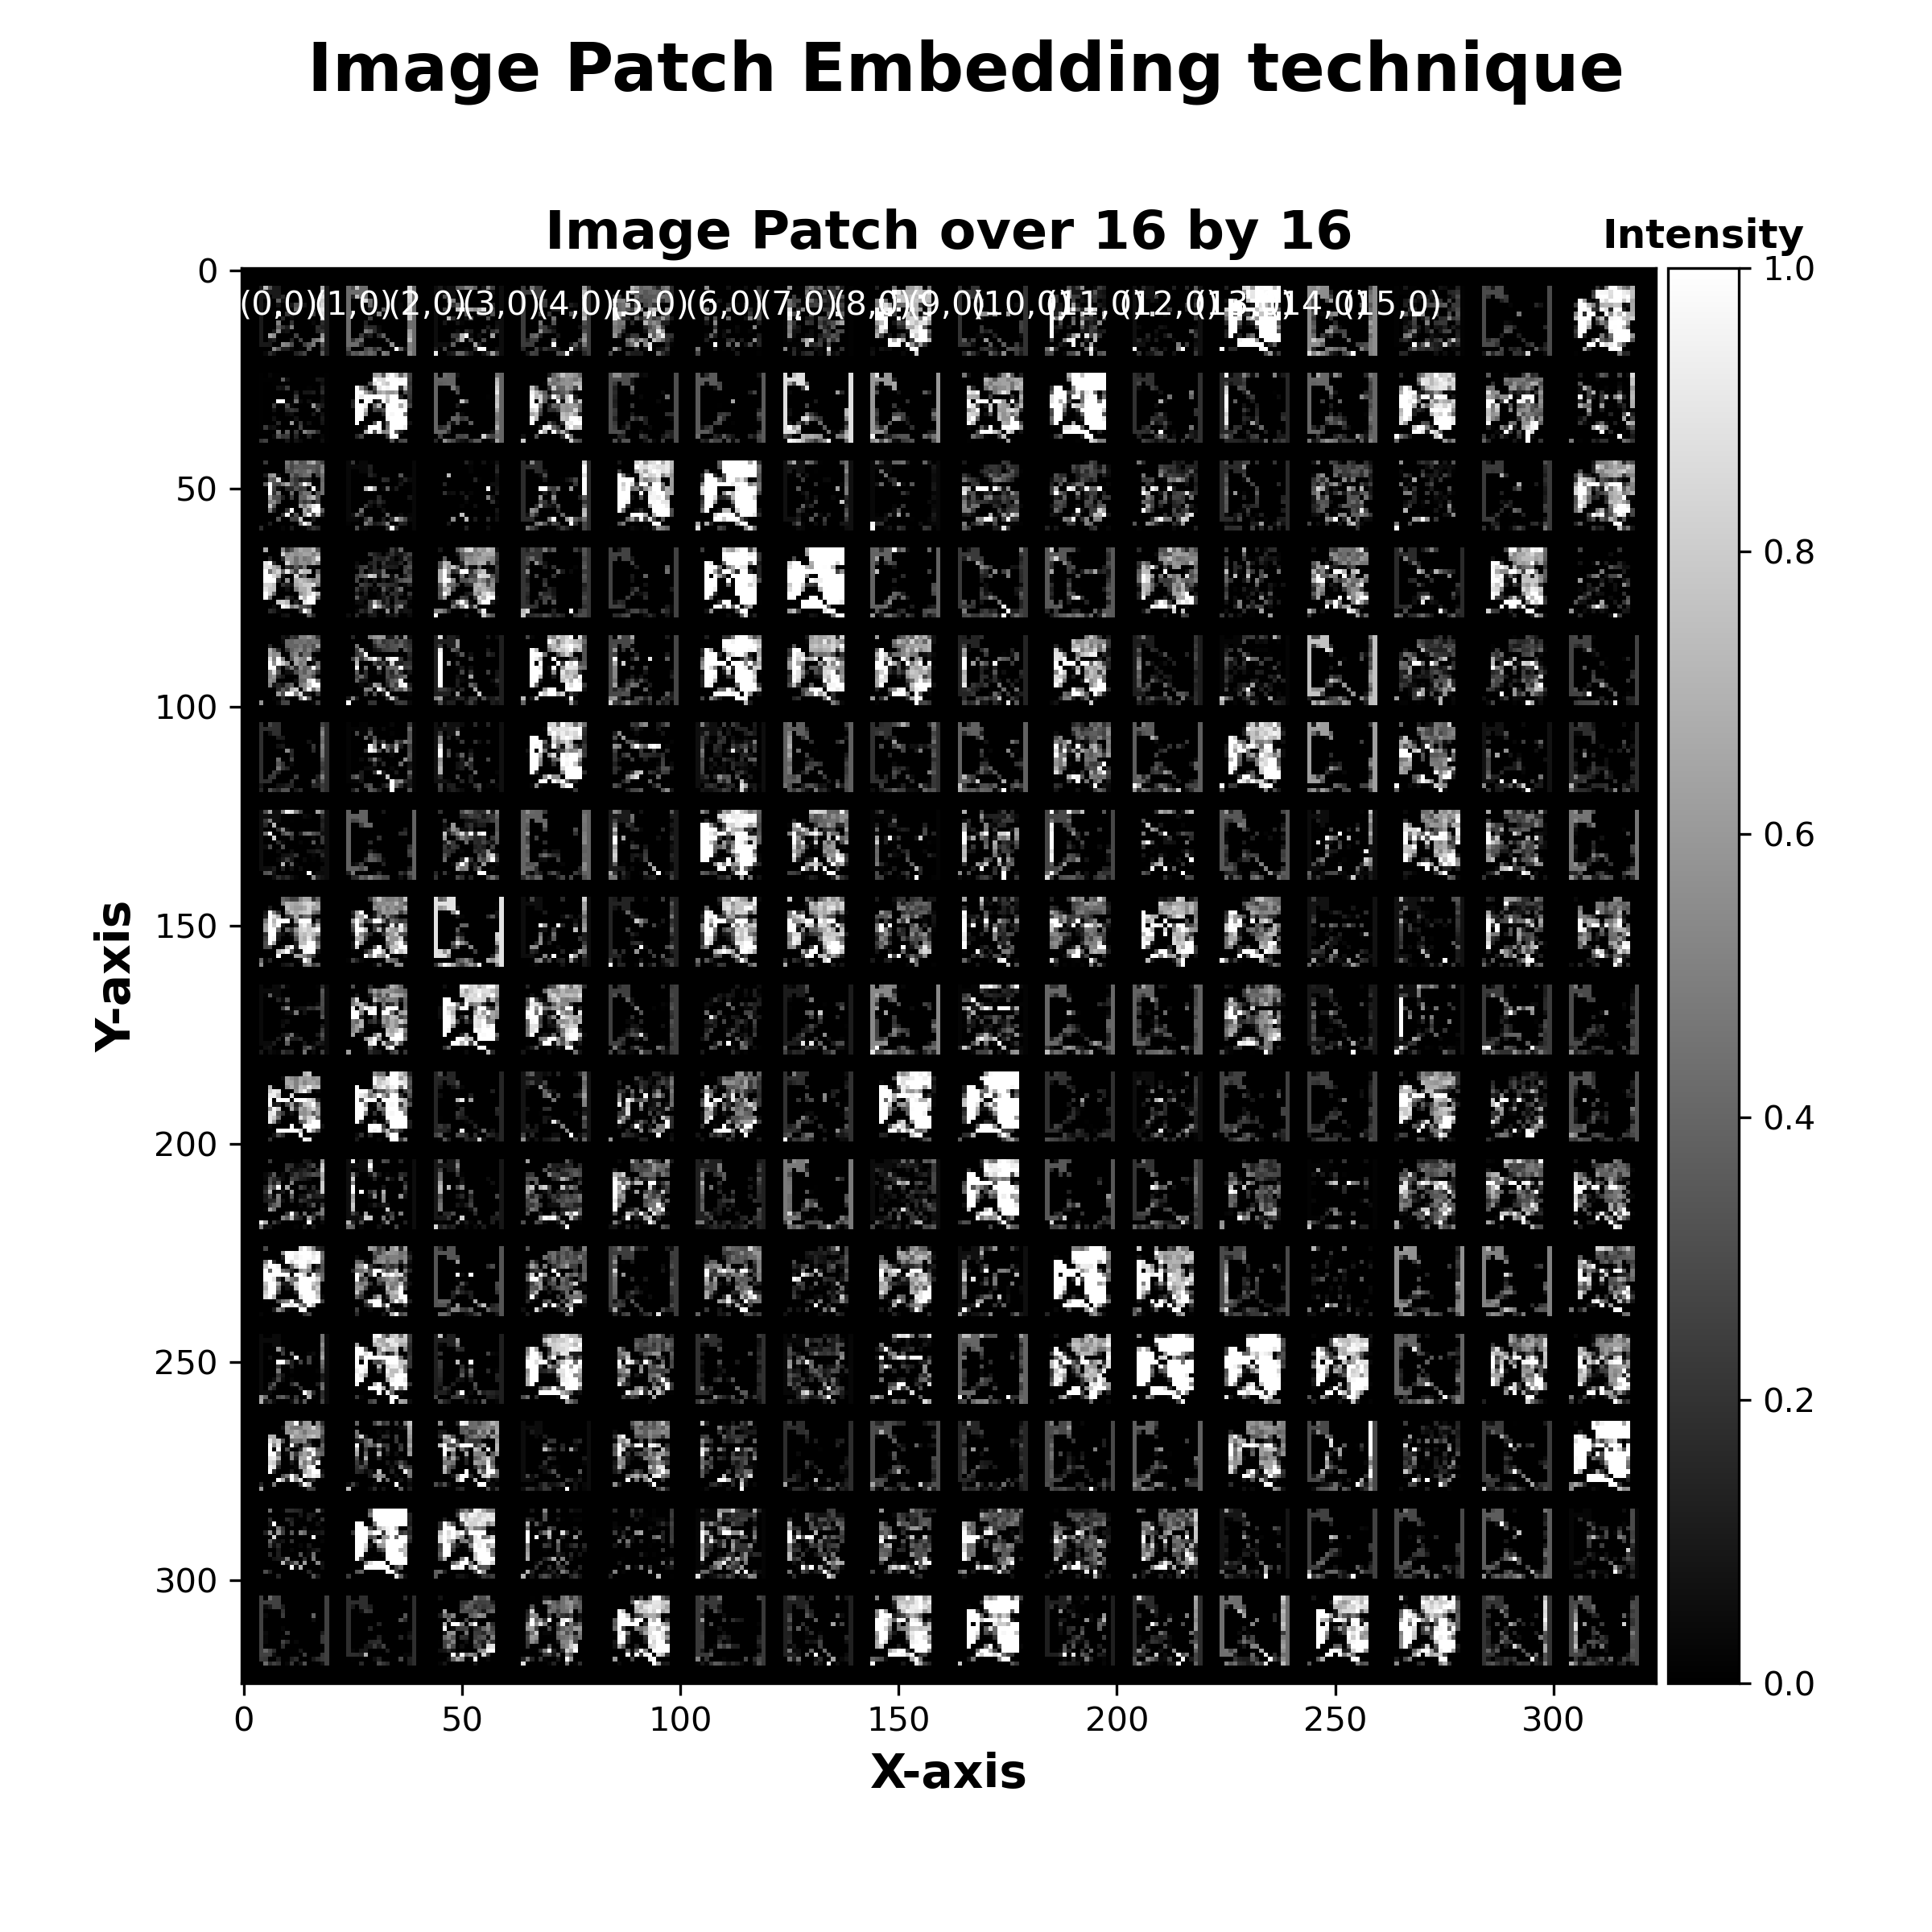
Linear Projection: that used Convolution Network but not in matter of extract features instead of it used to split the image of size 256x256 into sub-Patches to make the model Transformer able to learn and process the Image because of most used in NLP Seq2Seq modeling , here Linear Projection is make each Patch as Token in Vector
-
MLP multi- Layer Perceptence: to make the model do the task classification used MLP because is widely implemented in Classification only we add CLS
Notation in Vision-Transformer only we take Encoder blocks instead of all the model Transfotmer for me infotmation read the Article
1. Implementations
This is a simplified PyTorch implementation of the paper An Image is Worth 16x16 Words: Transformers for Image Recognition at Scale. The goal of this project is to provide a simple and easy-to-understand implementation. The code is not optimized for speed and is not intended to be used for production.
Check out this post for step-by-step guide on implementing ViT in detail.
1.1 Patch Embedding

class Patch_Embedding(nn.Module):
    def __init__(self , Config):
        super(Patch_Embedding,self).__init__()
        self.image_size = Config["image_size"]
        self.patch_size = Config["patch_size"]
        self.num_channel = Config["num_Channle"]
        self.number_patch = ( self.image_size // self.patch_size) ** 2
        self.hidden_size = Config["embedding_size"]
        self.Projection = nn.Conv2d(self.num_channel , self.hidden_size ,
                                    kernel_size=self.patch_size ,
                                    stride=self.patch_size)
    def forward(self, x ):
        # (batch_size, num_channels, image_size, image_size) -> (batch_size, num_patches, hidden_size)
        x= self.Projection(x)
        x = x.flatten(2).transpose(1,2)
        return x
1.1 Positional Embedding

class Embeddings(nn.Module):
    """
    Combine the patch embeddings with the class token and position embeddings.
    """

    def __init__(self, config):
        super().__init__()
        self.config = config
        self.patch_embeddings = Patch_Embedding(Config)
        self.cls_token = nn.Parameter(torch.randn(1, 1, config["embedding_size"]))
        self.position_embeddings = \
            nn.Parameter(torch.randn(1, self.patch_embeddings.number_patch + 1, config["embedding_size"]))
        self.dropout = nn.Dropout(config["hidden_dropout_prob"])
    def forward(self, x):
        x = self.patch_embeddings(x)
        batch_size, _, _ = x.size()

        # Expand the [CLS] token to the batch size
        # (1, 1, hidden_size) -> (batch_size, 1, hidden_size)
        cls_tokens = self.cls_token.expand(batch_size, -1, -1)
        # Concatenate the [CLS] token to the beginning of the input sequence
        # This results in a sequence length of (num_patches + 1)
        x = torch.cat((cls_tokens, x), dim=1)
        x = x + self.position_embeddings
        x = self.dropout(x)
        return x
environment project
first Creat an ENV to run the poject in Dir
Packages:
- numpy
- torchmetrics
- matplotlib
- torch
- torchvision
- pytorch-lightning
- opencv-python
- create the enviromenet here you will need to run
conda create --name Segemnetation python=3.6
- make sure the requirements.txt exist to the repo the packges if you want fisrt neeed to run
pip install -r requirements.txt
run project
in The transformer model there’s many og Hyper-Parameters to tune baed on the exprement and data Size , to make easy to Tune the model there’s Script Called CONFIG.py contain all the Parameters setup based on your purpose it will automatically Generate YAML config.yml FILE
Notation : in this project i used Pytorch-Lighting Framework because is easy to creat Loop Traning and use Mulit-GPU
to Run the model Traninig Folowwing Commmand : after finishing the Traning auto-Checkpoint Save model Called ViT.ckpt will save in current Folder project
python train.py --Config config.yml --device "gpu"
Predict
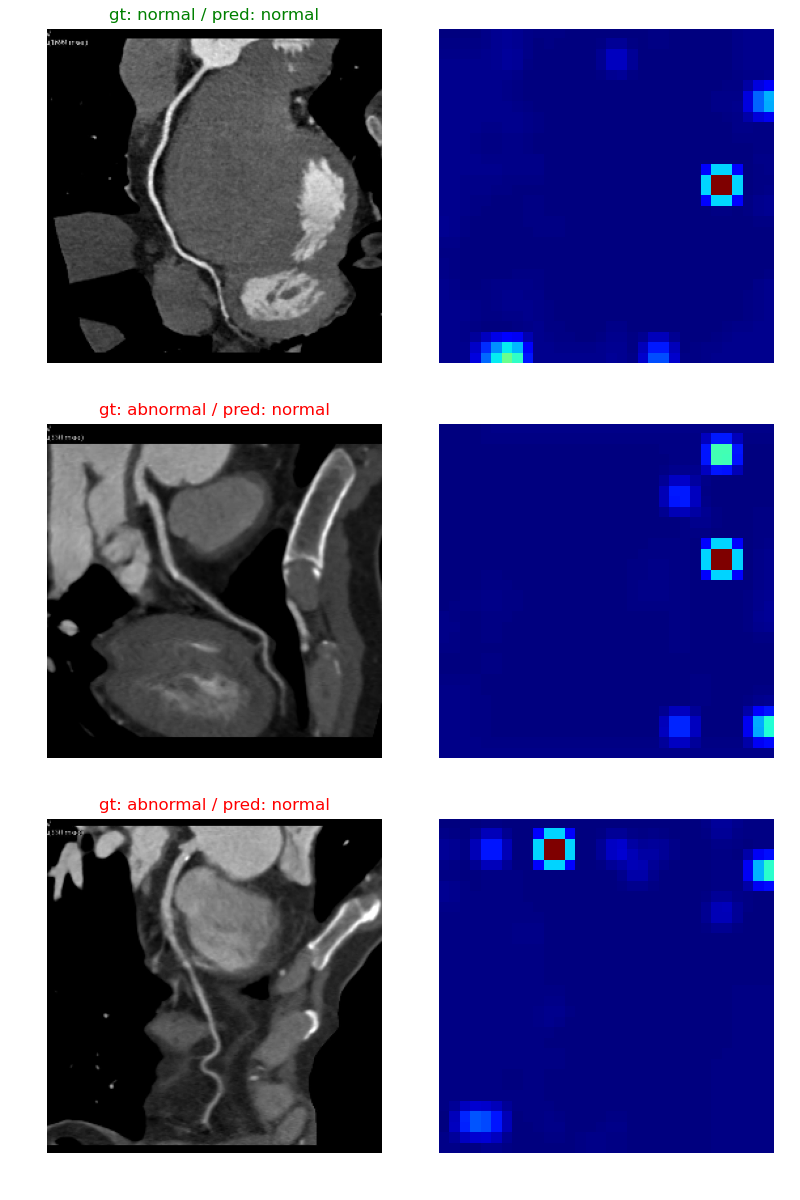
After the Training is done Run Predict.py to check the prediction using Save CHECKPOINT following Command: Path_Checkpoint
INSERT_Val_DATA: this one should be Validation data or TestDATA already processed
python predict.py --Path INSERT_Val_DATA -- Path_Checkpoint INSERT_CHECKPOINT_MODEL --OUTPUT INSERT_OUTPUT_STR.PNG
